
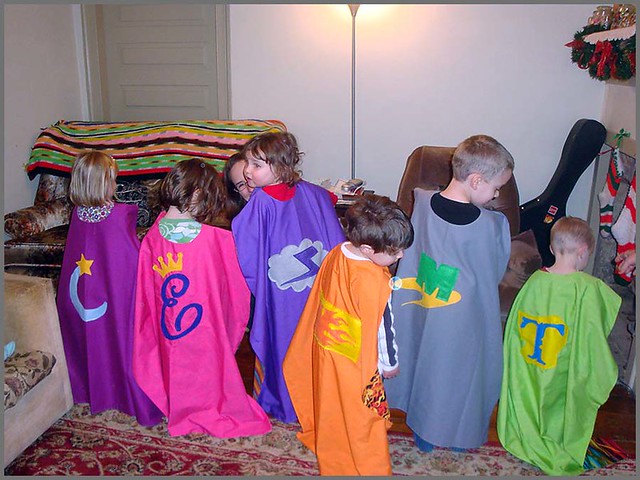
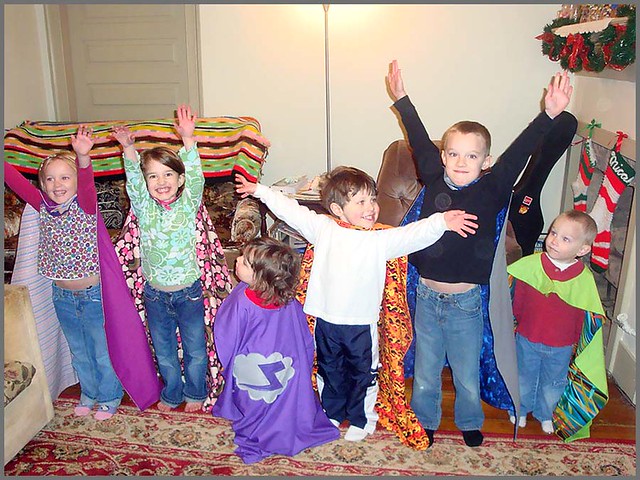
For Christmas I made Micah's & My neices and nephews capes. (My amazing SIL Meghan & MIL helped with costs and with finishing them minutes before the kids arrived)
They went over well :)
(side Capital C Cape note: if you want to add seam allowance to a neck hole, you make it SMALLER not bigger.)
I was very proud of myself, but they were a LOT of work. If Karen hadn't been willing to iron they would have not been anywhere near as nice. My sewing machine died in the middle of the project and I had to borrow one and that was while our car was still on probation and not to be trusted with me driving it in case it left me stranded in the middle of nowhere (my darling is so sweet and protective of me :))
I was inspired to make these capes by mom who went on a cape kick a few years ago. After Christmas I realized that My sisters little boy was not yet born when his grandmother was on a cape kick. I felt like He NEEDED a Cape. I did not feel like I had it in me to do another Capital C Cape so I made him a lower case c cape. It was MUCH simpler. And while it is maybe less impressive, his sister will no longer be able to tell him that he can't fly with her because he doesn't have a cape.
So here's how I made a cape in like an hour and a half (including a break to make a cup of hot chocolate) with half of 2 t-shirts and no ironing.
1. Cut the sleeves and collar off of two Large or XL t-shirts, Slice up the sides and along the shoulders so that you have sleeveless collarless front and back pieces. Choose one and fold it in half.
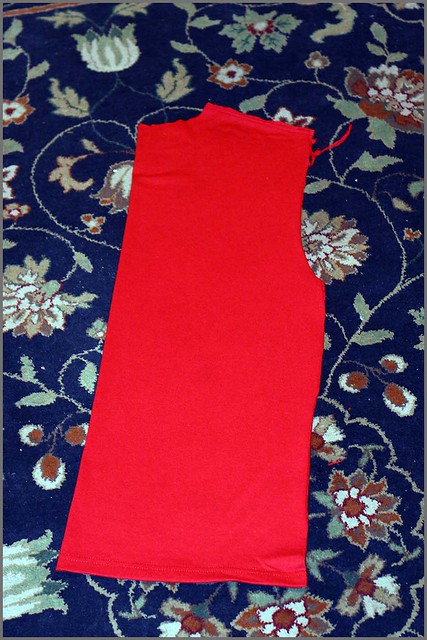
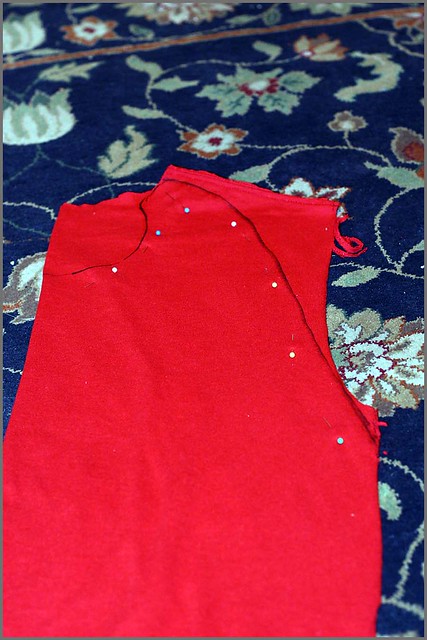
2. Use a bowl or imposibly large mug to trace half a circle at the top of the fold
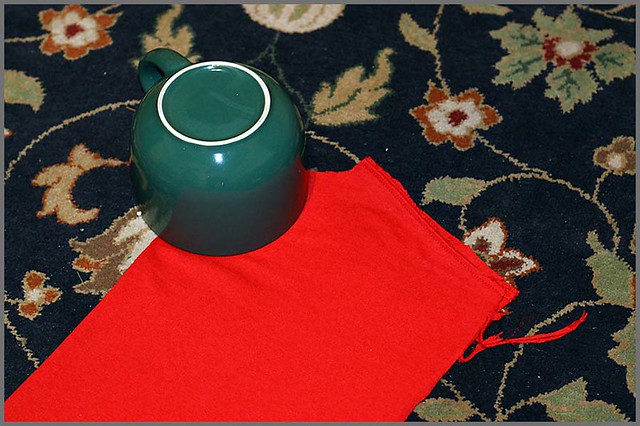
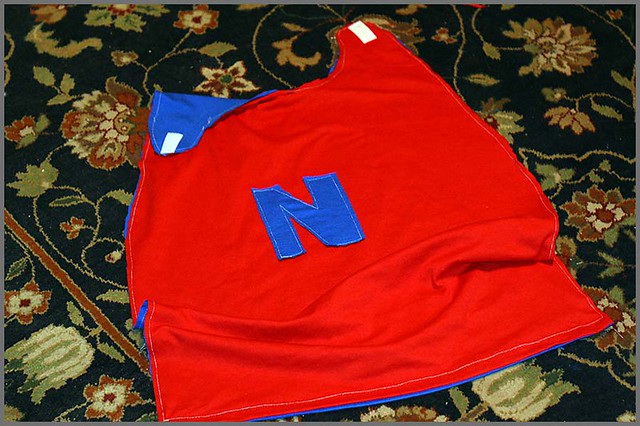
(please ignore what appears to be a magical color changing carpet. In real life it stays black all the time)
3.With a sharpie, mark a cut line that curves up from under the arm hole of the shirt and makes a tab above the neck hole. Pin the two halves together to make it easier to cut.
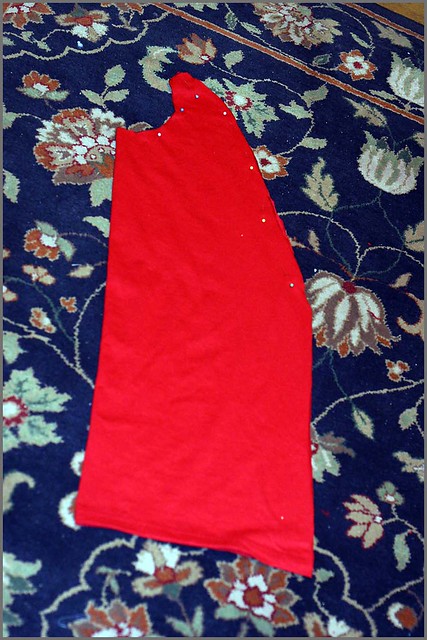
4.Cut on the line. We will hide any remaining evidence that you drew on the cape with permanent marker in the next step
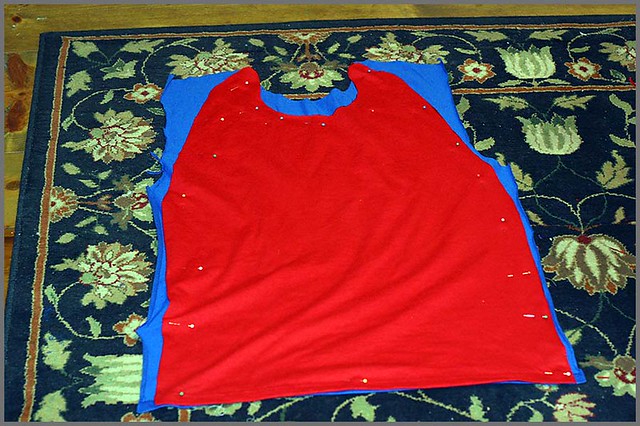
5. Unfold and pin the cut out cape(red) to another t-shirt with the marked side in. Using t-shirt material means that you can leave raw edges not have to turn it inside out or iron it and it looks intentional and charming instead of lazy.
The fact that I had a large and an XL shirt made pinning this easier but it could be done with two shirts of the same size and you'd have less trimming.
6. Sew along the cut-out cape shape to attach the two pieces. (Feel free to use matching thread instead of white.) Trim the edges so they match.

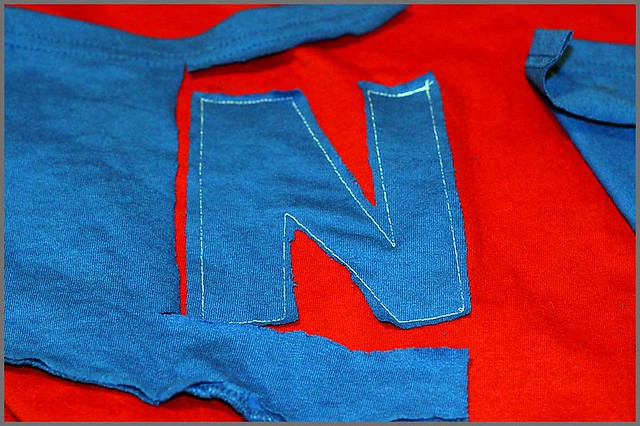
7. Decide which side will be the front. Slice open one of the contrasting sleeves and pin it to the cape for the "logo" (I got carried away with the first batch of logos. Poor Nick is just getting an N)
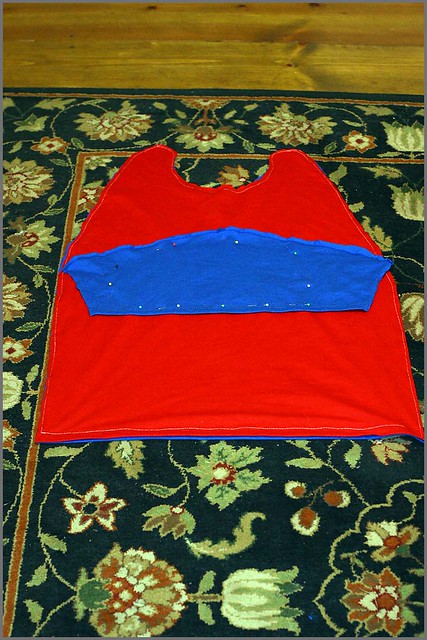
8. Sew the outline of whatever letter or symbol you would like to add to make the cape super. Since N is an easy letter, I just eyeballed it. (Makes up for the cursive K I had to sew on his stocking)
Then just cut around your lines. I think this looks cool. If the bobbin on my borrowed machine was not giving me fits I may have tried to do two graduated layers.
9. Add velcro or stings to tie it around your little hero's neck and Voila!
I may or may not have worn this cape around the rest of the day and seriously considered making myself one.
3 comments:
Well done Caped Crusader! I love you and miss you.
Awesome--I am impressed by your interpretation.
as a person with a little on I would not suggest a sting to tie around your child's neck as step 9 suggests... That said, Nick slept in his cape last night.
Post a Comment